


DKV Visa Health Insurance: Application Steps in Spain
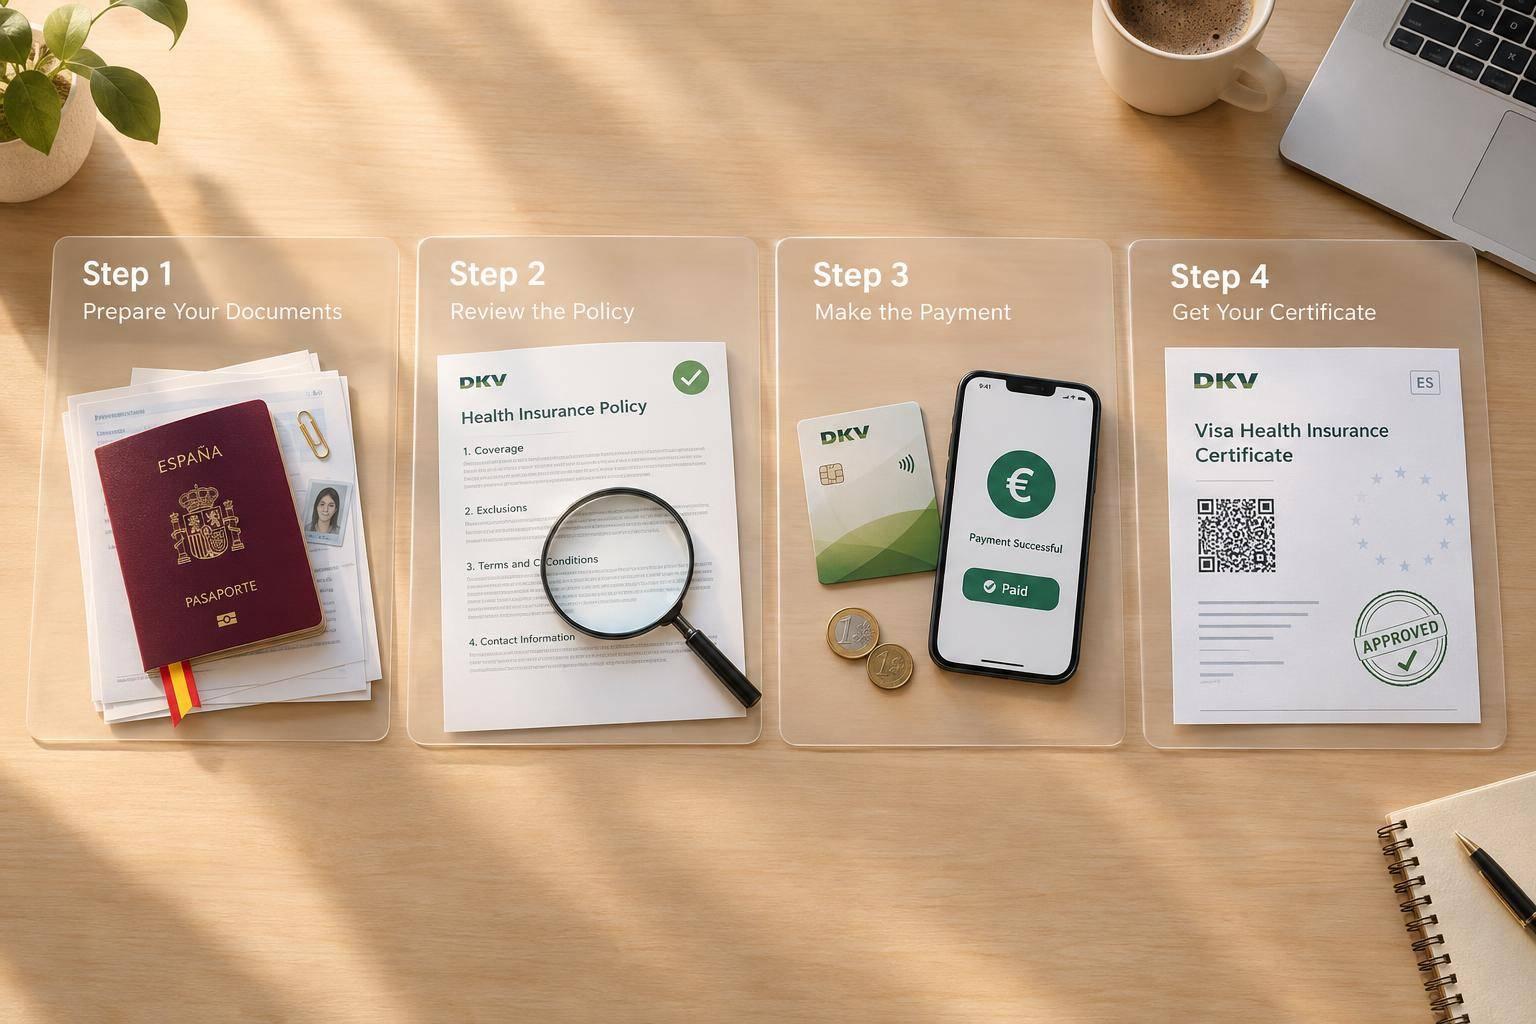
Applying for DKV visa health insurance takes 4 steps. My advice: check the consulate’s insurance rules before you pay, then compare them with the policy terms - not just the plan’s name.
Here’s the process:
Gather applicant details: Check the required coverage dates and prepare each person’s passport information.
Review the quote: Confirm coverage, exclusions, copayments, waiting periods, and any terms for pre-existing conditions.
Pay in euros: Check the final premium and save your payment receipt.
Check your documents: Get the issued policy and insurance certificate, then verify names and coverage dates.
<u>Insurance does not guarantee visa approval.</u> Before filing, I’d check that the issued documents meet your consulate’s current rules and required start date.
Step 1: Check Requirements and Gather Applicant Details
Before requesting a DKV quote, check the DKV private health insurance rules for the Spanish consulate or immigration office handling your case. Requirements vary by residency category and location. You’ll use these rules to prepare your quote details in Step 2.
Check Your Visa’s Insurance Rules
Confirm the required policy start date and coverage duration before applying. Your policy must be active when you submit your visa paperwork.
Gather Personal Details for Each Applicant
For each family member, gather their full legal name exactly as shown in their passport, passport number, nationality, date of birth, and contact details. Have valid passports and current visa documents ready.
You can apply with a passport number if you don’t yet have an NIE. Check that every detail matches the passport before submitting. With these details ready, you can request your quote.
sbb-itb-04e9d95
Step 2: Choose Coverage and Submit Your Application
Use the details from Step 1 to request a quote through the approved application channel. Review the policy terms before paying.
Check Coverage Against Visa Requirements
Check the issued policy, such as DKV Integral Elite, not just the product name. Before payment, compare the proposed terms with your consulate’s checklist, including copayments, deductibles, waiting periods, exclusions, and coverage dates. If your residency category requires no copayments, confirm that the proposed policy meets that requirement.
Get written confirmation of exclusions, terms for pre-existing conditions, and any special conditions before accepting the quote.
Submit Your Details and Review the Quote
Submit each applicant’s details through the approved channel. Once you’ve confirmed the coverage, review the quoted premium, coverage dates, and exclusions for each person. Check that all personal information is correct and that the premium matches the benefits and exclusions offered.
Save the quote and policy terms. If any residency requirement is unclear, get written confirmation before paying. When the quote matches your residency checklist, proceed to payment so the policy can be issued.
Do not file residency paperwork until the policy is issued and matches your checklist.
Step 3: Pay and Obtain Policy Documents
After your quote is approved and you’ve paid, collect the issued insurance documents for your residency filing.
Confirm the Cost and Pay in Euros
Once your application is accepted, check the written quote for the final premium and coverage terms before paying in euros. Save your payment confirmation and check how you’ll receive your documents.
If the payment process or timing is unclear, ask for written clarification before proceeding.
Get and Check Your Insurance Documents
After payment, DKV sends a confirmation email with your insurance number. Request the policy conditions and insurance certificate. Confirm that the policy has been issued and that the documents show the correct effective date.
Check the names, policy number, and coverage dates against your application. If anything is missing or incorrect, request corrected documents.
Do not file until the issued documents match your residency checklist. Submit those documents with your residency filing.
Conclusion: Review Your Paperwork Before Submission
Before filing, check your consulate or immigration office’s current checklist. Review any written exclusions or special conditions from your health questionnaire, too.
Submit only once your policy is active, DKV has issued your insurance certificate and full policy documents, and your plan meets the consulate’s checklist - including the start date and required policy term.
Once you’ve checked the issued policy against the checklist, print the required copies. Make sure every page is complete and readable before filing.
FAQs
How early should I apply for DKV visa health insurance?
Apply 2 to 3 months before your desired coverage start date so your documents arrive on time and don’t delay your consulate appointment or residency paperwork.
The online application often takes about 5 minutes, and the official certificate is typically issued within 24 to 48 hours. Request the certificate as soon as your policy is activated so it’s ready to submit.
Can I change my coverage dates if my visa is delayed?
If your visa is delayed, contact your DKV advisor or customer support as soon as possible. Your advisor can help manage policy activation or adjust your coverage start date to fit your updated travel or residency plans.
Visa approval often depends on an insurance certificate that confirms valid coverage. Coordinate any date changes before your scheduled consulate appointment to avoid mismatched information in your documents.
Can I get a refund if my visa is denied?
Yes. With DKV’s visa rejection guarantee, you’ll get a full refund of your premium if your visa application is denied.


Comments